
Growing peanuts at home in recycled plastic containers is a rewarding and environmentally friendly way to enjoy the taste of freshly harvested peanuts right from your own garden. This beginner’s guide will walk you through the steps of cultivating peanuts in recycled plastic containers, providing you with a satisfying gardening experience and a bountiful harvest.
Materials Needed:
- Recycled plastic containers (large enough to accommodate peanut plants)
- Peanut seeds (also known as peanut kernels)
- High-quality potting mix
- Organic compost
- Perlite or vermiculite (for better drainage)
- Watering can or hose
- Fertilizer (balanced NPK fertilizer)
- Mulch (straw or leaves)
- Full sunlight area
Step-by-Step Guide:
Selecting the Right Containers: Choose recycled plastic containers that are at least 12 inches deep to allow room for the peanut plants’ root development. Containers with drainage holes are essential to prevent waterlogging.
Preparing the Potting Mix: Mix the potting mix, organic compost, and perlite/vermiculite in a 1:1:1 ratio. This mixture provides good drainage, aeration, and nutrient retention.
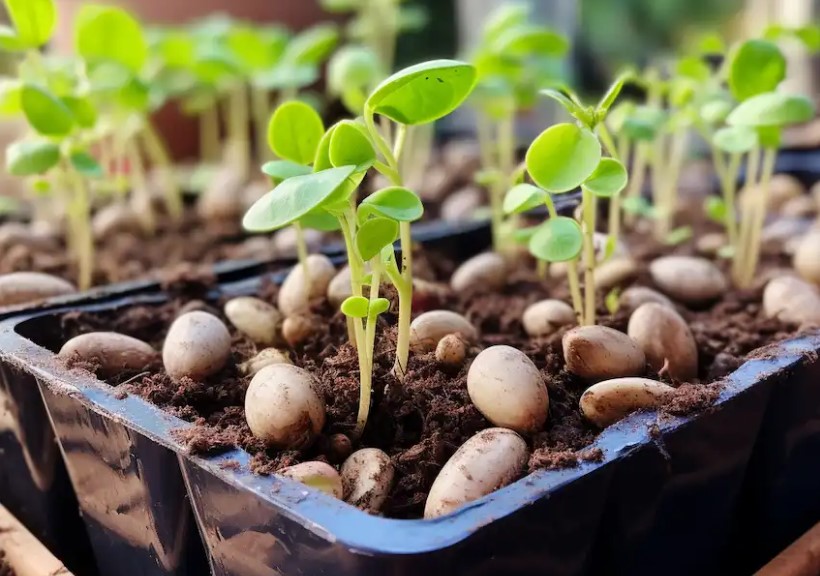
Planting Peanut Seeds: Place a few inches of the prepared potting mix into each container. Plant the peanut seeds about 1 to 2 inches deep and 4 to 6 inches apart. Cover the seeds with the remaining potting mix.
Watering: Keep the soil consistently moist but not soggy. Peanuts require regular watering, especially during flowering and pod development. Use a watering can or a gentle hose attachment to water the plants.
Providing Sunlight: Place the containers in a location that receives full sunlight. Peanuts require at least 6 to 8 hours of direct sunlight each day for optimal growth and pod development.
Fertilization: Apply a balanced NPK fertilizer according to the manufacturer’s instructions. Generally, fertilize the peanut plants every 3-4 weeks during the growing season. Avoid excessive nitrogen, as it can encourage foliage growth at the expense of peanut production.
Managing Growth: As the peanut plants grow, they will produce attractive yellow flowers that eventually develop into pegs. These pegs elongate and enter the soil to form peanuts. Gently mound soil around the pegs to help them establish root systems.
Mulching: Apply a layer of mulch around the plants to help retain soil moisture, suppress weeds, and maintain an even soil temperature.
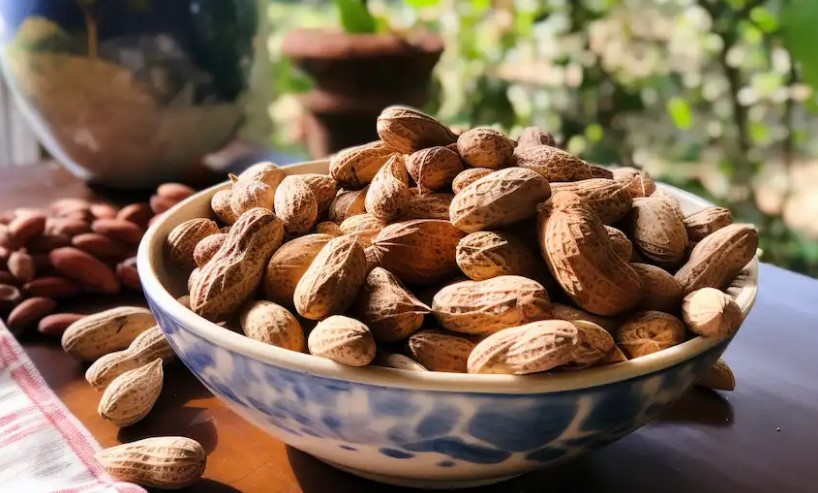
Harvesting: Peanuts are ready for harvest when the plants start to turn yellow and the leaves begin to dry. Carefully dig up the plants and shake off excess soil. Allow the peanuts to dry in a warm, well-ventilated area for about two weeks before removing them from the shells.
Storing and Enjoying: Once dried, store the peanuts in a cool, dry place in airtight containers. Roast or boil the peanuts before consuming for the best flavor.
Growing peanuts at home in recycled plastic containers is a fun and accessible way to experience the joy of gardening and the satisfaction of harvesting your own crop. With the right materials, proper care, and a bit of patience, you’ll be enjoying your homegrown peanuts in no time. So, roll up your sleeves, gather your supplies, and embark on this exciting journey of cultivating peanuts in your very own recycled plastic containers.


