
Transforming a section of your garden into a dry creek bed can add a touch of serene beauty to your outdoor space. Not only is it aesthetically pleasing, but a dry creek bed can also serve practical purposes, such as improving drainage and preventing erosion. Below is a detailed, step-by-step guide to help you create a dry creek bed in your garden.
Step 1: Plan Your Design
1.1. Choose the Location
Assess your garden to find the best spot. Dry creek beds often work well in naturally low areas where water accumulates or where you wish to redirect excess water away from certain parts of your garden.
1.2. Design the Layout
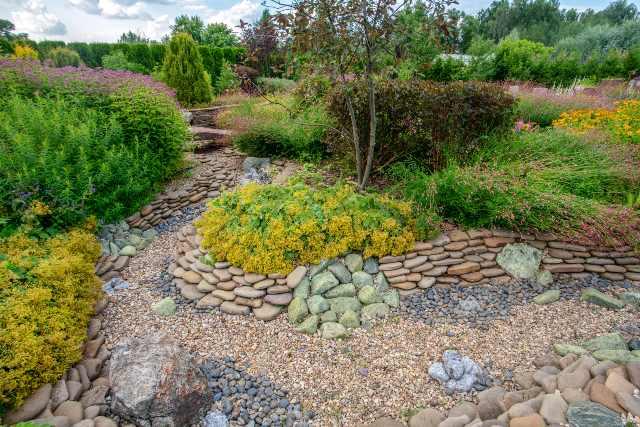
Sketch a rough design on paper. Consider curving lines for a more natural look. The width of the creek should vary along its course to mimic a natural stream.
1.3. Check Local Regulations
Before you start, check with your local zoning office for any regulations regarding water redirection or landscape changes.
Step 2: Mark and Dig the Creek Bed
2.1. Mark the Area
Use landscape paint or a hose to mark the outline of your creek bed on the ground.
2.2. Start Digging
Dig along the marked lines to a depth of about 2-3 inches for small creeks and up to 6 inches for wider sections. Slope the sides gradually.
2.3. Create a Gradient
If your yard is flat, create a slight gradient to direct the flow of water. A slope of about 1-2% is typically sufficient.
Step 3: Lay the Foundation
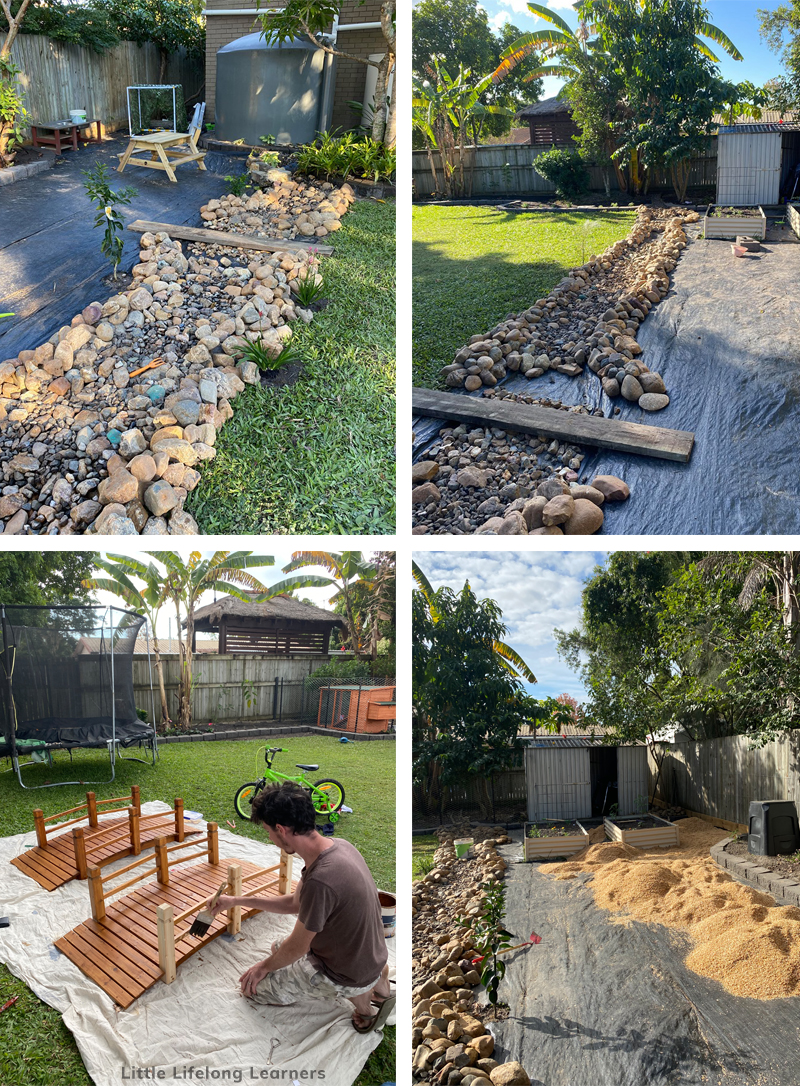
 3.1. Add Landscape Fabric
Lay landscape fabric along the bed to prevent weed growth. Ensure it covers the sides of the creek bed.
3.2. Install the Edging
Place edging materials such as metal or plastic along the sides of your creek bed to keep the rocks from mixing with the soil.
Step 4: Add Rocks and Boulders
4.1. Start with Larger Stones
Place larger boulders or rocks first to create the structure of your creek bed. Distribute them irregularly along the course.
4.2. Add Smaller Stones
Fill in the spaces with smaller stones and gravel. Vary the size and color of the stones for a more natural appearance.
4.3. Secure the Rocks
Make sure all rocks are firmly placed. They should not move when stepped on.
Step 5: Landscape Around the Creek Bed
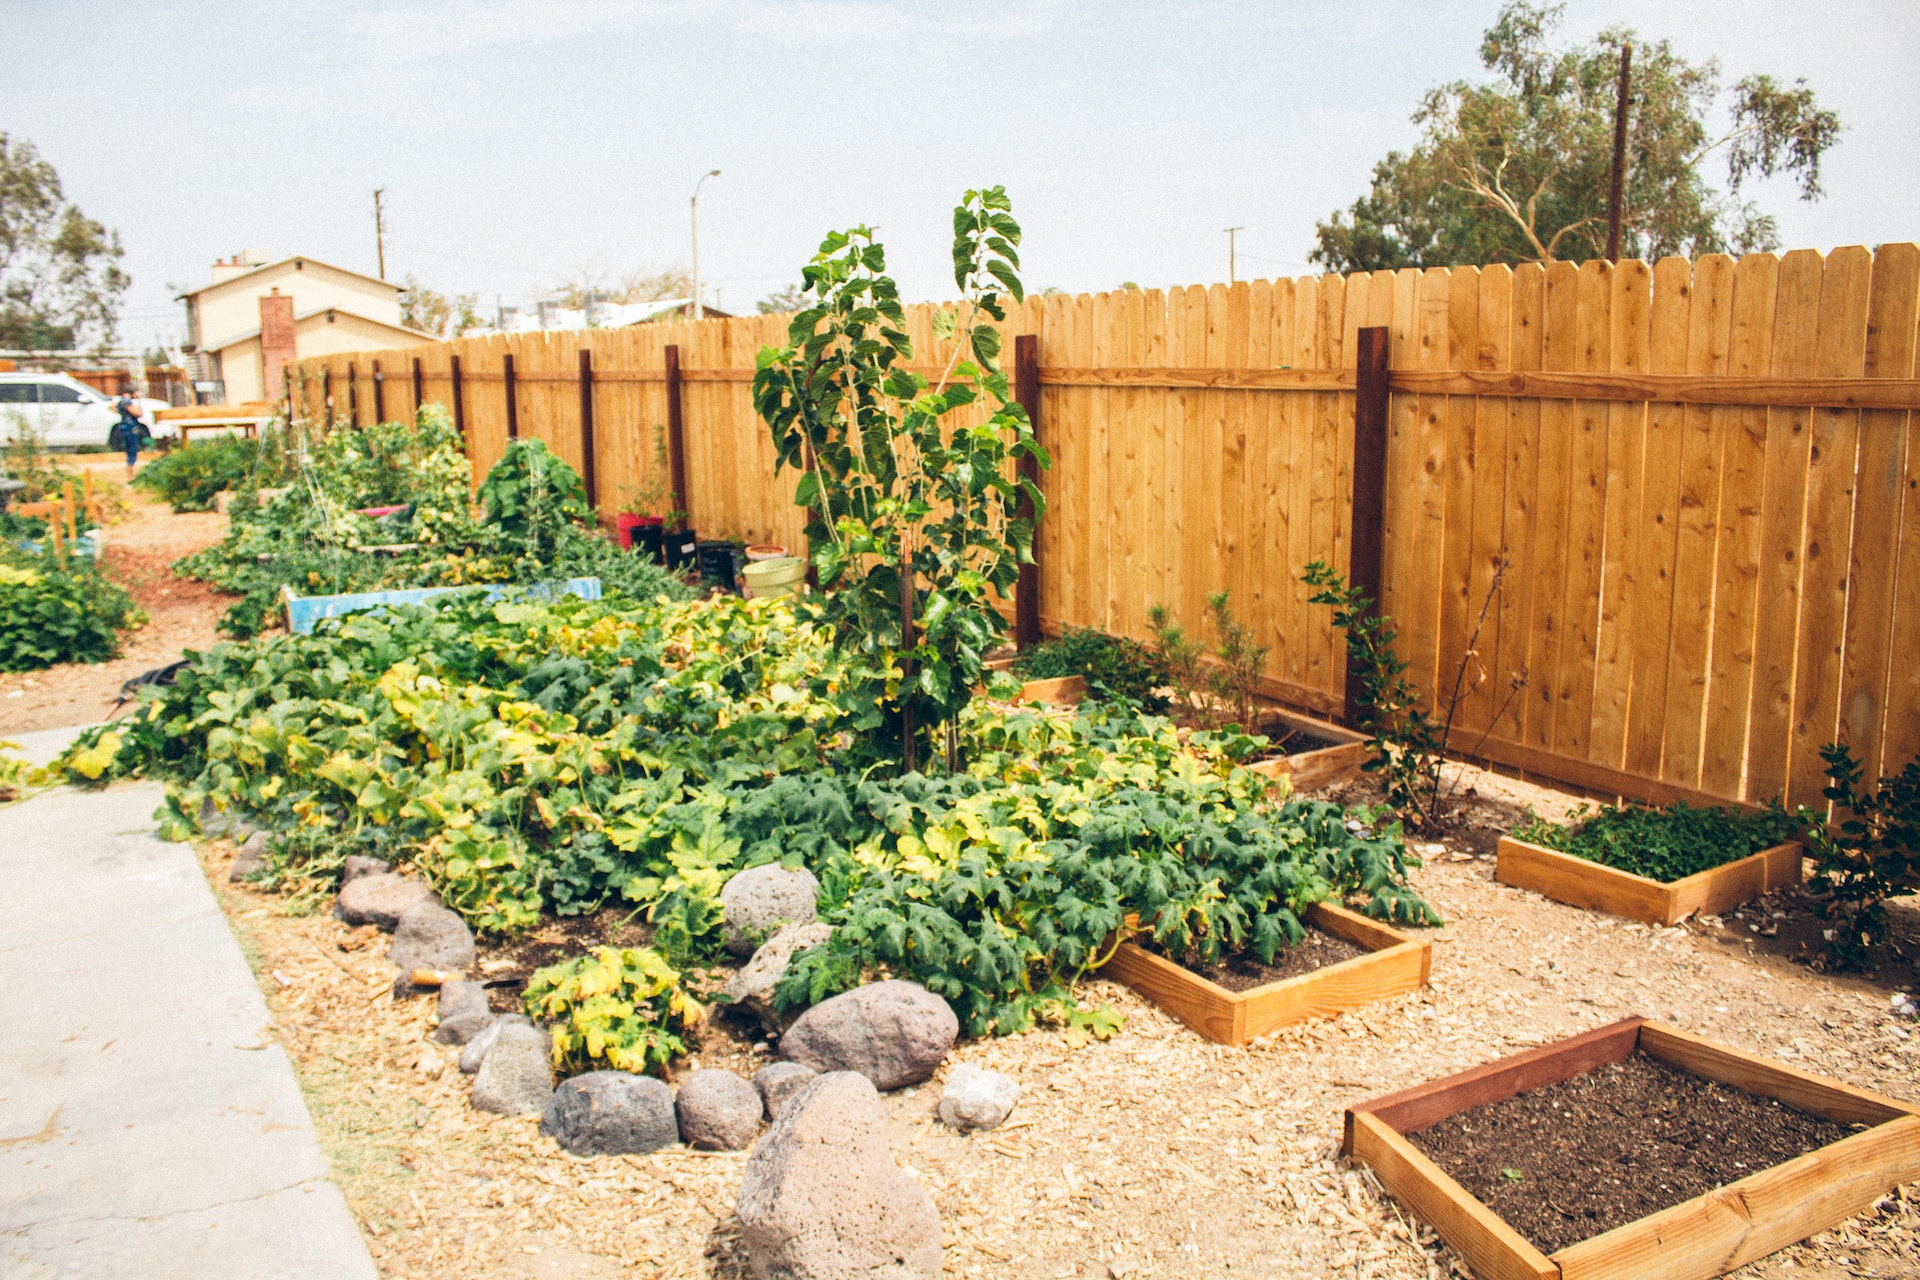
5.1. Plant Native Vegetation
Plant native shrubs, grasses, and flowers along the edges of your creek bed to integrate it with your garden. Choose plants that would naturally grow near waterways in your area.
5.2. Add Mulch
Apply mulch around the plants to help retain moisture and suppress weeds.
Step 6: Maintenance
6.1. Check for Erosion
After heavy rains, check for signs of erosion or displacement of rocks and make necessary adjustments.
6.2. Weed and Prune
Regularly remove weeds and prune overgrown plants to maintain the aesthetic appeal of your dry creek bed.
 Creating a dry creek bed in your garden is a rewarding project that not only enhances the beauty of your outdoor space but also offers practical benefits. By following these detailed steps, you can ensure a successful and stunning addition to your garden. Remember to take your time planning and constructing your creek bed, and enjoy the creative process of shaping your own natural oasis.


