
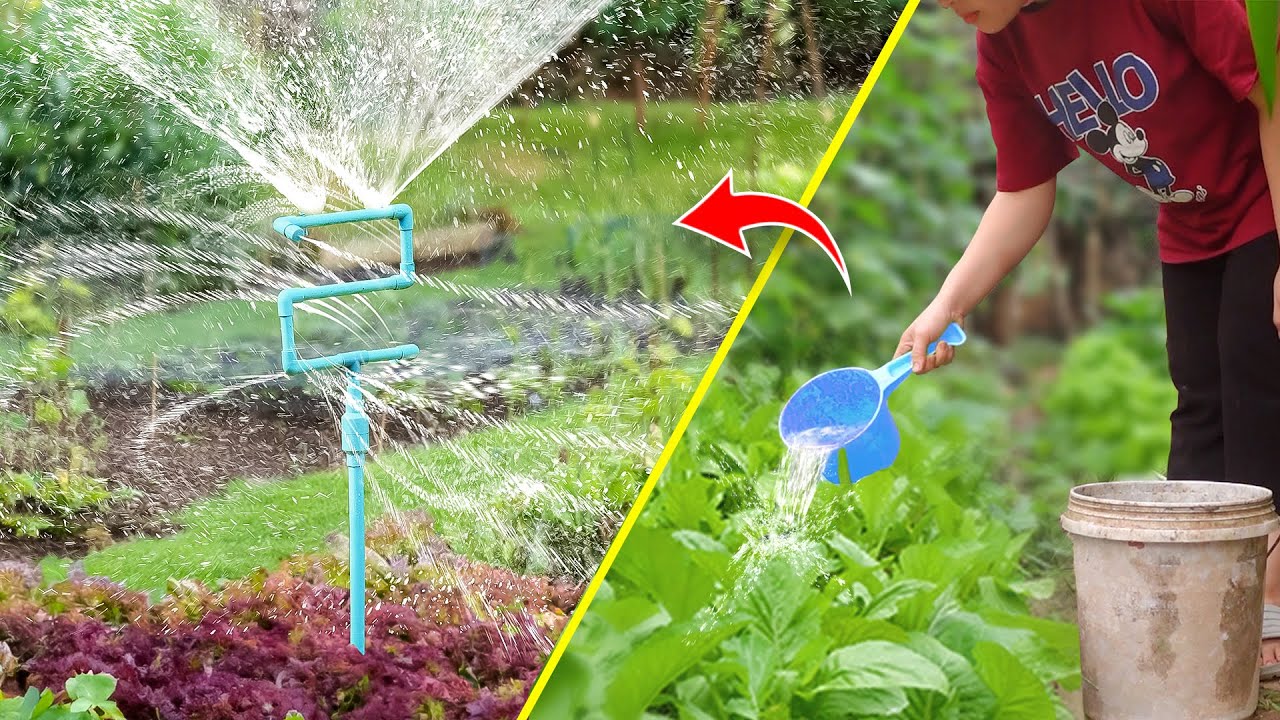
In the quest for sustainability and saving money, garden lovers and eco-minded folks have found clever ways to use everyday items for gardening. One such innovation is the DIY sprinkler system, a simple yet effective solution for watering gardens. This system works by boosting water pressure and evenly distributing water across your garden beds, making it perfect for those aiming to cut down on waste and water bills.
Materials You’ll Need:
– Garden hose: for connecting to your water source.
– PVC pipes and “T” connectors: to build the main structure of the system.
– Plastic bottle: acts as a pressure chamber.
– Waterproof tape: for sealing pipes and creating sprinkler outlets.
– Drill or sharp tool: for making holes in pipe caps.
Step-by-Step Assembly:
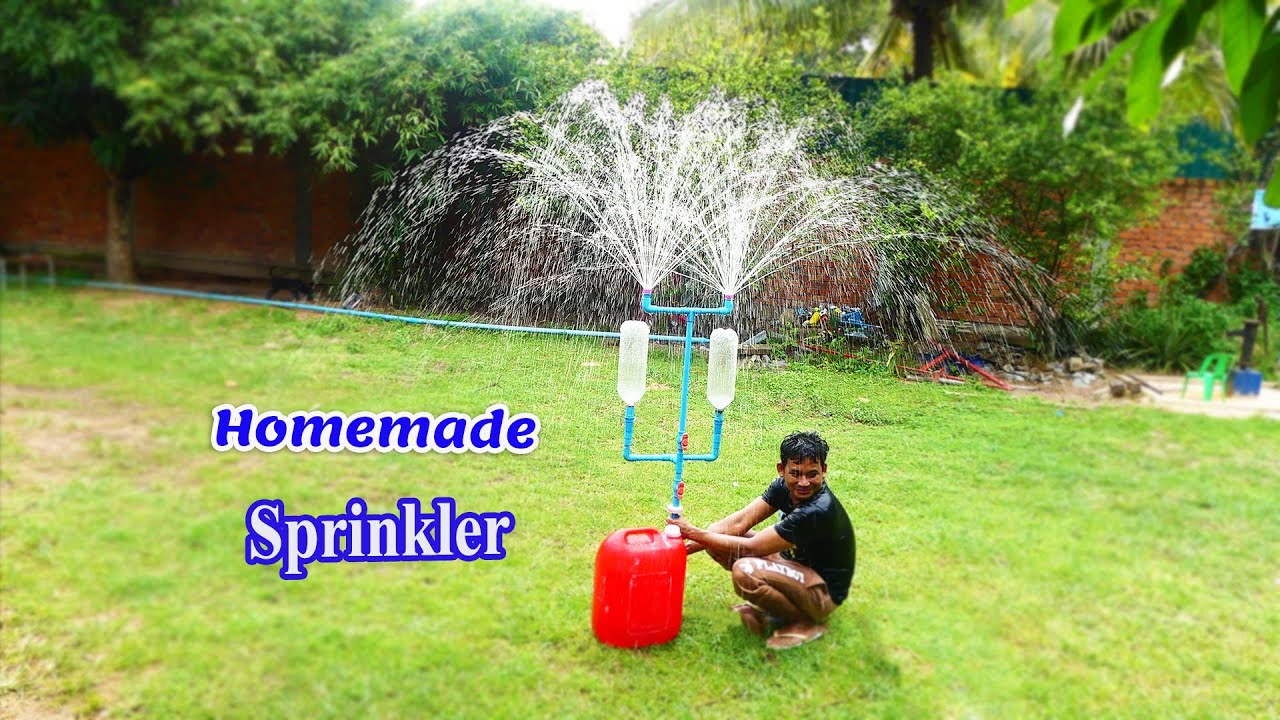
1. Setting Up Your Water Source:
Attach your garden hose securely to an outdoor tap or water tank.
2. Creating a Pressure Chamber:
Connect an upside-down “T” connector to the end of your hose.
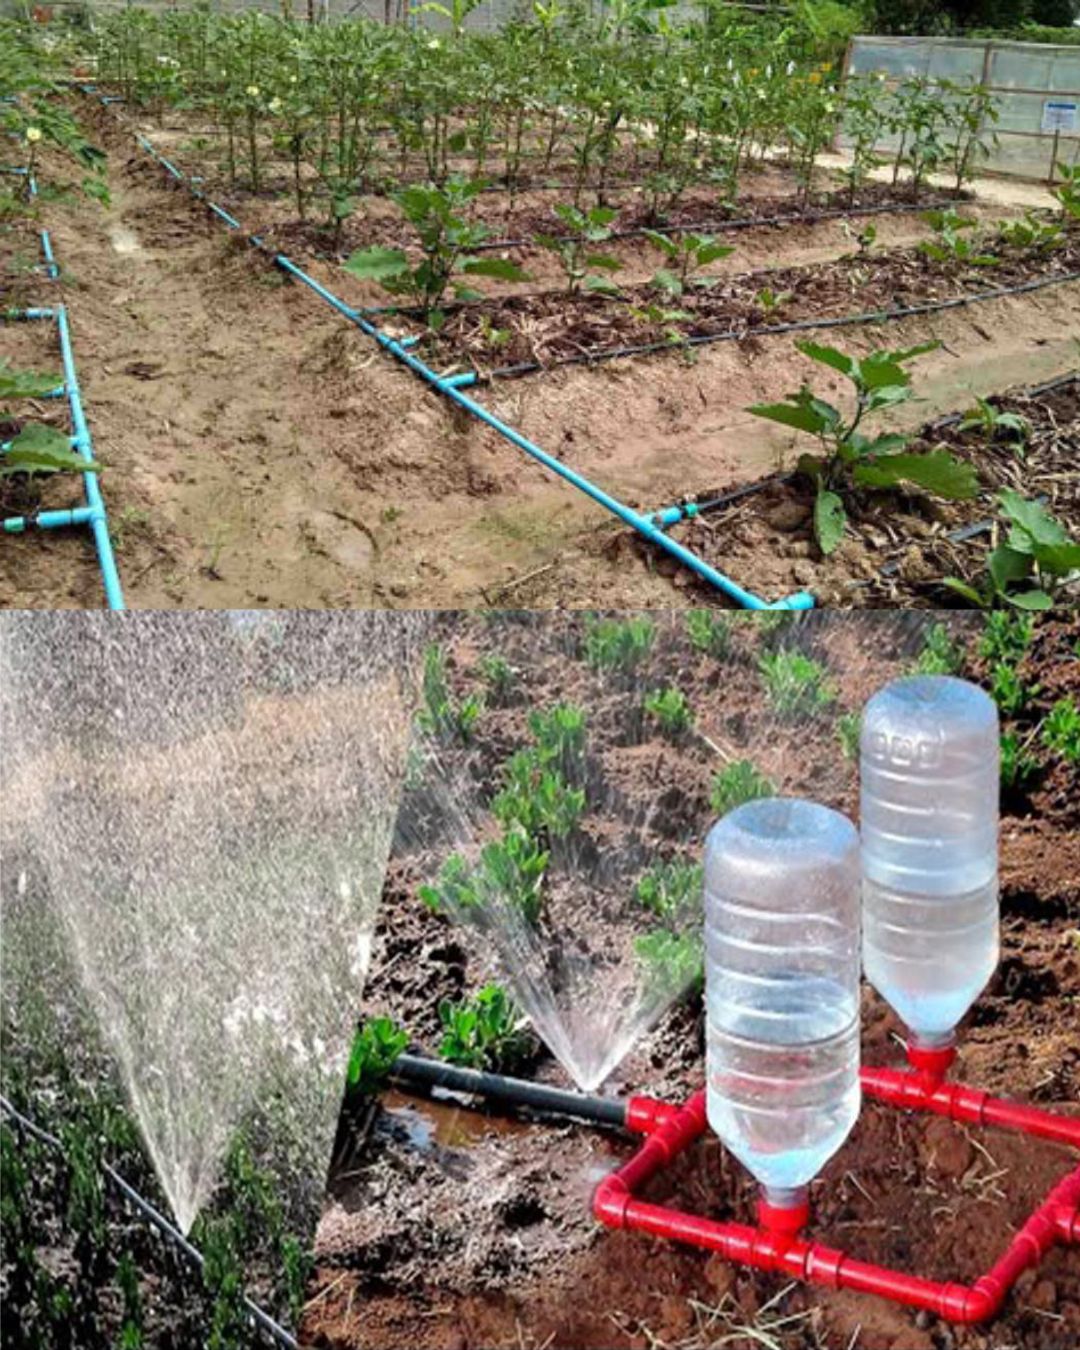
Attach a plastic bottle upside down to the vertical opening of the “T” connector. This creates a pressure chamber that increases water pressure.
3. Building the Distribution Network:
Connect PVC pipes to the horizontal ends of the “T” connector, forming the main water pathway.
Install upside-down “T” connectors every few feet along the PVC pipes. From each connector, raise a vertical pipe section for watering.
Cap the ends of these vertical pipes with waterproof tape, then make small holes with a drill or sharp tool for sprinkler outlets.
4. Adjustments and Fine-Tuning:
Experiment with hole sizes to control spray distance and pattern.
Adjust the size of the plastic bottle to fine-tune water pressure.
Consider your garden layout when positioning pipes and sprinkler outlets for even water distribution.
Embracing DIY Solutions:
Creating your own sprinkler system is not only fulfilling but also supports sustainability and water conservation. By repurposing household items, you can keep your garden healthy without breaking the bank. Regular maintenance ensures efficient operation, and occasional adjustments may be needed over time.
Embrace the DIY spirit with this project and enjoy a flourishing garden while contributing to a more eco-friendly world.


