
In the realm of sustainable gardening, the no-till method is revolutionizing how we cultivate our gardens. This approach not only nurtures the soil but also respects the intricate web of life beneath our feet. In this comprehensive guide, we’ll explore the compelling reasons behind adopting a no-till gardening approach and provide a detailed, step-by-step guide to help you create a thriving, productive garden without disrupting the soil structure.
I. The Philosophy Behind No-Till Gardening:
Understanding Soil Ecosystems :
Soil is not just a medium for plant growth; it’s a living, breathing ecosystem. Traditional tilling disrupts this ecosystem, destroying soil structure, and harming beneficial microorganisms. No-till gardening recognizes and preserves the complexity of soil life.
Sustainability and Environmental Stewardship :
By avoiding tilling, gardeners minimize their carbon footprint, reduce erosion, and help sequester carbon in the soil. This practice aligns with the principles of sustainability and environmental stewardship.
II. The Multifaceted Benefits of No-Till Gardening:
Enhanced Soil Health :
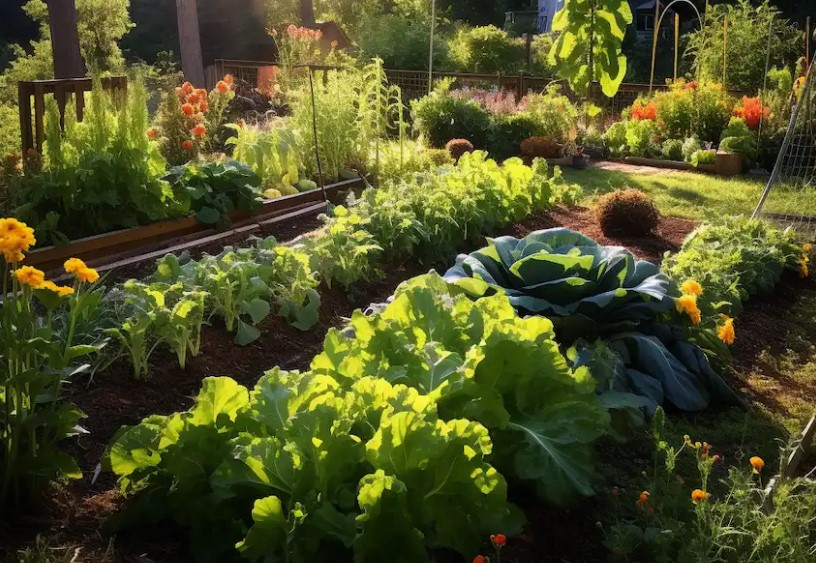
No-till gardens maintain a healthy soil structure. The undisturbed soil fosters a vibrant community of microorganisms, which aids in nutrient recycling and improves soil fertility.
Improved Water Conservation :
The soil’s improved structure enhances its ability to retain water, reducing the need for frequent watering and protecting your plants during dry periods.
Reduced Labor and Maintenance :
Without the need to till, gardeners save time and effort. This method also reduces the growth of weeds, cutting down on the time spent weeding.
Boost in Plant Health and Yield :
Plants in a no-till garden have better root development and access to nutrients, leading to healthier plants and potentially higher yields.
III. Step-by-Step Guide to Starting Your No-Till Garden:
Materials Needed :
- Cardboard or newspaper
- Compost
- Mulch (straw, leaves, or wood chips)
- Organic fertilizer (optional)
- Seeds or seedlings
- Watering can or system
- Gardening tools (for planting)
Step 1: Select Your Site
Choose a location that receives adequate sunlight (6-8 hours per day) and has access to water. Consider the proximity to trees and buildings, which may cast shade or have roots that could interfere with your garden.
Step 2: Prepare the Ground
If starting on a lawn or area with existing vegetation, lay down cardboard or several layers of newspaper to suppress the grass and weeds. Wet the materials thoroughly to help them break down faster.
Step 3: Build Your Layers
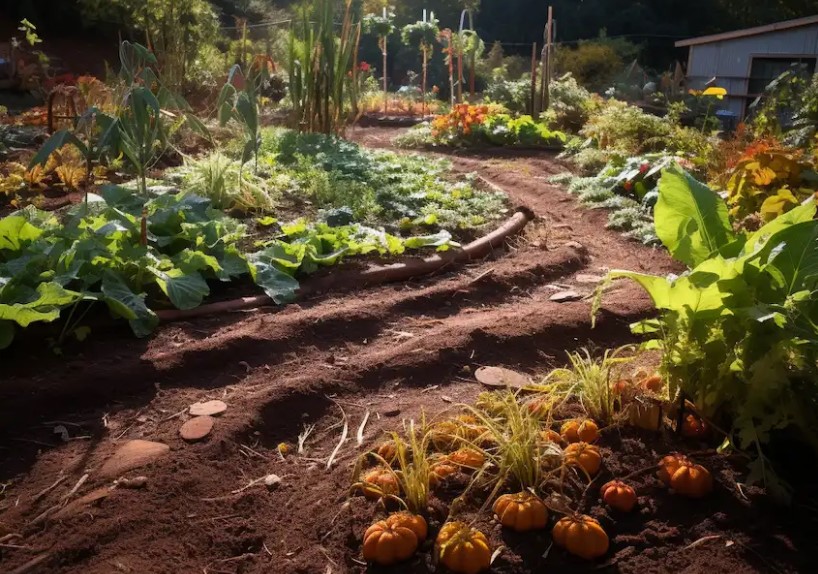
On top of the cardboard or newspaper, add a thick layer of compost. This will serve as the primary growing medium for your plants. Add a layer of mulch on top to conserve moisture, regulate soil temperature, and further suppress weed growth.
Step 4: Plant Your Garden
Create small openings in the mulch layer to plant your seeds or seedlings. Ensure they have good contact with the compost layer beneath. For larger plants or root crops, you may need to remove more mulch to provide ample growing space.
Step 5: Water and Maintain
Water your garden as needed, focusing on the base of the plants. Over time, continue to add layers of compost and mulch to nourish your garden and maintain the soil structure.
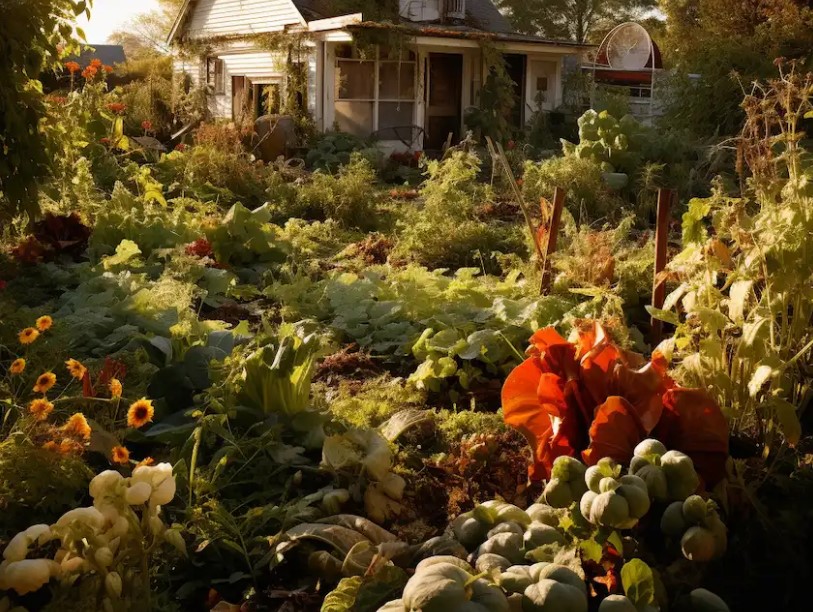
No-till gardening is a testament to working in harmony with nature, fostering a vibrant, healthy ecosystem right in your backyard. By embracing this method, you’re choosing a path of sustainability, conservation, and respect for the intricate web of life beneath our feet. Embark on your no-till gardening journey and witness the transformation of your garden and the environment around you.


