
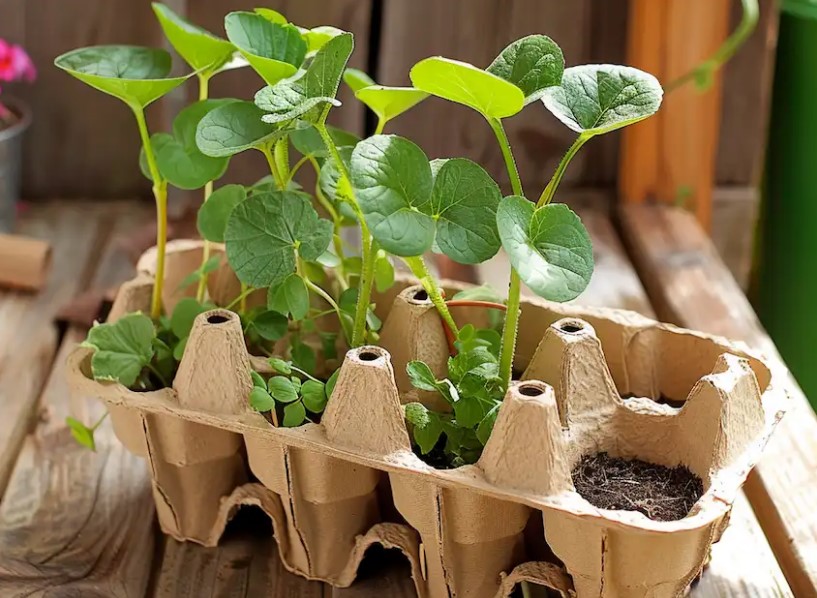
Step 1: Gather Your Materials
- Egg Boxes: Empty egg cartons, preferably cardboard, which will serve as biodegradable seed starting trays.
- Recycled Bread Bags: Clean, empty bread bags to use as mini-greenhouses for maintaining humidity.
- Seeds: Choose a variety of vegetable seeds based on your preference and the season.
- Soil: Seed starting mix or a homemade mix of peat, vermiculite, and compost.
- Water: A spray bottle or watering can with a fine nozzle to gently water the seeds without displacing them.
- Labels: Something to label your egg boxes, like sticks or small pieces of paper, to keep track of what you’ve planted.
Step 2: Prepare the Egg Boxes
- Soil Preparation: Fill each compartment of the egg box with your seed starting mix, leaving about a half-inch space from the top.
- Sowing Seeds: Follow the instructions on your seed packets for depth and spacing. Plant 2-3 seeds in each compartment to ensure germination.
- Watering: Gently water the soil using a spray bottle, ensuring it’s moist but not waterlogged.
Step 3: Create a Mini-Greenhouse
- Covering: Once you’ve sown your seeds, place the entire egg box inside a recycled bread bag. This will create a mini-greenhouse effect, retaining moisture and warmth to aid germination.
- Ventilation: Poke a few small holes in the bread bag for air circulation. This step is crucial to prevent mold growth.
Step 4: Germination
- Placement: Place your mini-greenhouses in a warm, bright spot, but not in direct sunlight, which can overheat your seeds.
- Monitoring: Check your seeds daily for moisture levels and water as needed. Look out for signs of germination, which typically occurs within 1-2 weeks, depending on the vegetable type.
Step 5: Seedling Care
- Thinning: Once seedlings emerge, thin them out by removing the weaker seedlings, leaving the strongest in each compartment. This ensures the remaining seedling has enough space and resources to grow.
- Transplanting: When your seedlings have developed their second set of true leaves and are robust enough, they’re ready to be transplanted into larger pots or directly into your garden. If using cardboard egg boxes, you can cut the compartments and plant them directly into the soil. The cardboard will decompose naturally.
Step 6: Acclimatization
- Hardening Off: Before transplanting outdoors, acclimatize your seedlings by gradually exposing them to outdoor conditions. Start with an hour a day, increasing the time over a week to avoid shock.
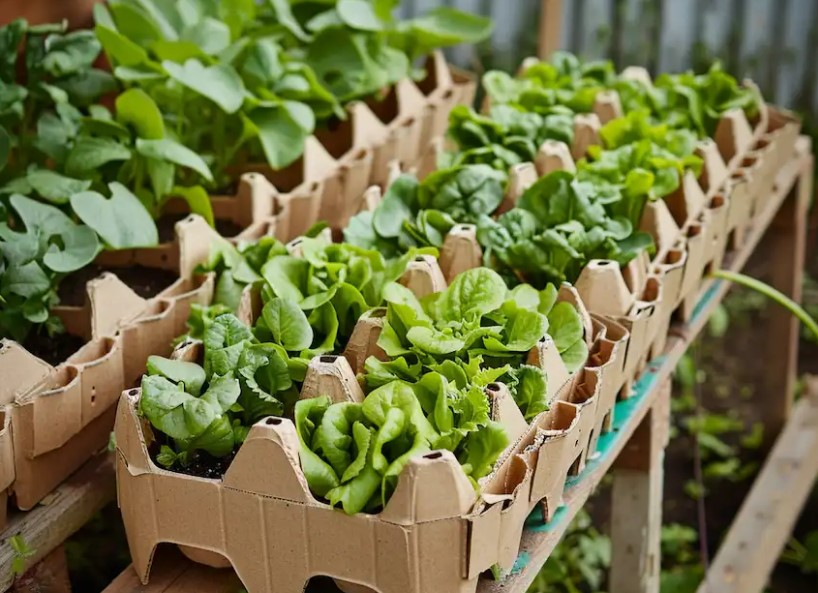
Step 7: Transplanting and Ongoing Care
- Transplanting: Choose a cloudy day or late afternoon for transplanting to minimize stress. Gently remove the seedlings from the egg boxes, being careful not to damage the roots, and plant them in their designated spots in your garden or larger containers.
- Watering: Water your transplanted seedlings thoroughly after planting and continue with regular watering.
- Maintenance: Monitor your plants for pests and diseases. Use organic methods to manage any issues.
Starting your vegetable garden from seeds using egg boxes and recycled bread bags is an excellent way to embark on a sustainable gardening journey. It’s an approach that not only reduces waste but also provides the satisfaction of growing your own food from scratch. With patience and care, you’ll soon enjoy the fruits (and vegetables) of your labor, fresh from your garden to your table.


