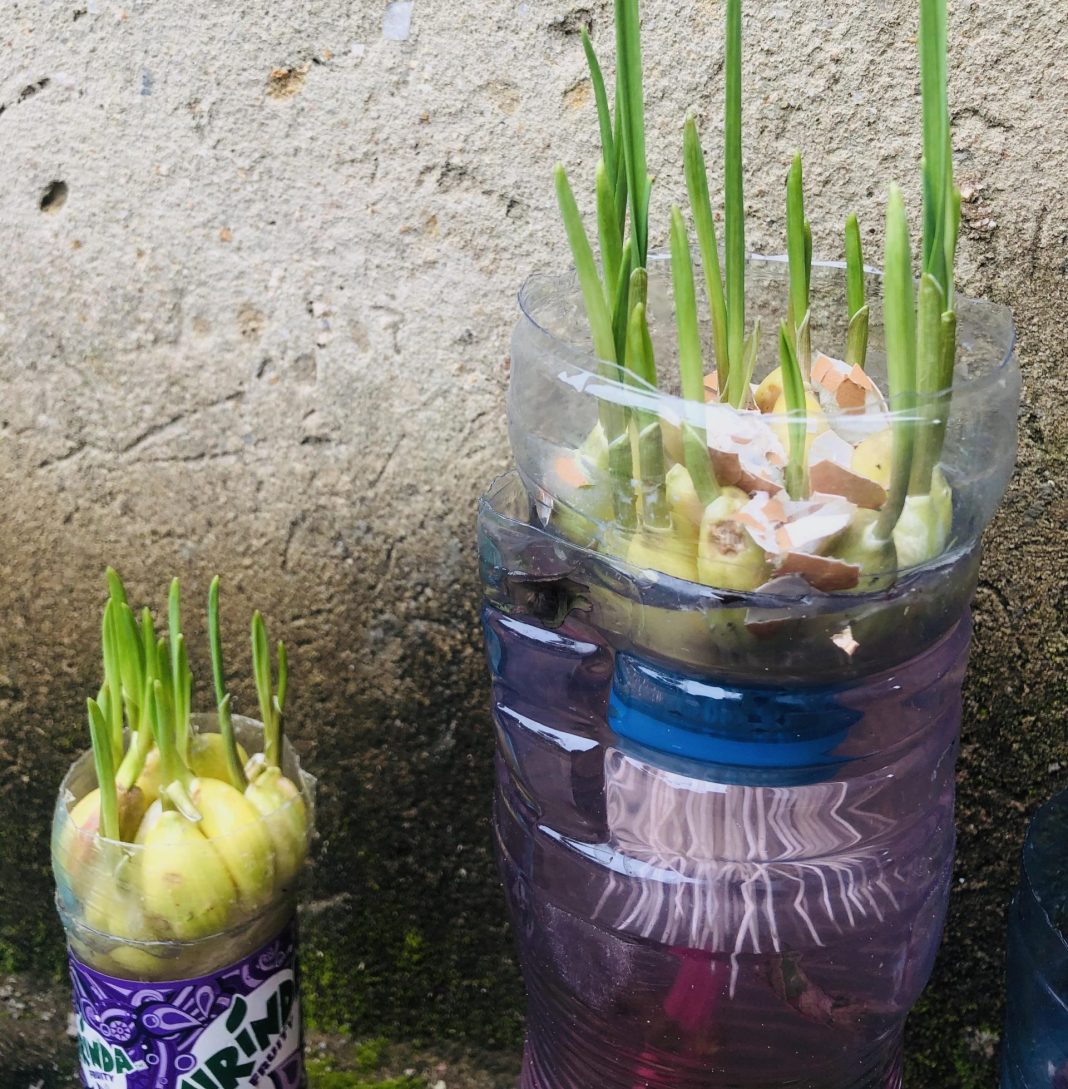
Growing Garlic Seedlings in Water Bottles
- Pick Healthy Garlic: Choose a good garlic bulb from a reliable source or your local market. Make sure it’s free of any sickness or damage.
- Prepare Containers: Clean and sanitize 5-liter water bottles or similar containers. Take off the labels and rinse them well with warm water.
- Fill Bottles with Water: Fill each bottle with water, leaving an inch of space from the top.
- Add Garlic Cloves: Break the garlic bulb into cloves, keeping the papery skin on. Put the cloves in the water bottles, making sure the flat end is under the water.
- Provide Light and Warmth: Put the water bottles in a warm, well-lit spot. A sunny windowsill works best, getting 6-8 hours of sunlight daily. Garlic likes temperatures of 55-75°F (13-24°C).
- Change Water Regularly: Every two to three days, change the water to stop mold or bacteria growth and give the cloves fresh nutrients.
- Watch for Roots: After a few days, you’ll notice roots growing from the bottom of the cloves. Let them get 1-2 inches (2.5-5 cm) long before moving them.
Transplanting Garlic Seedlings:
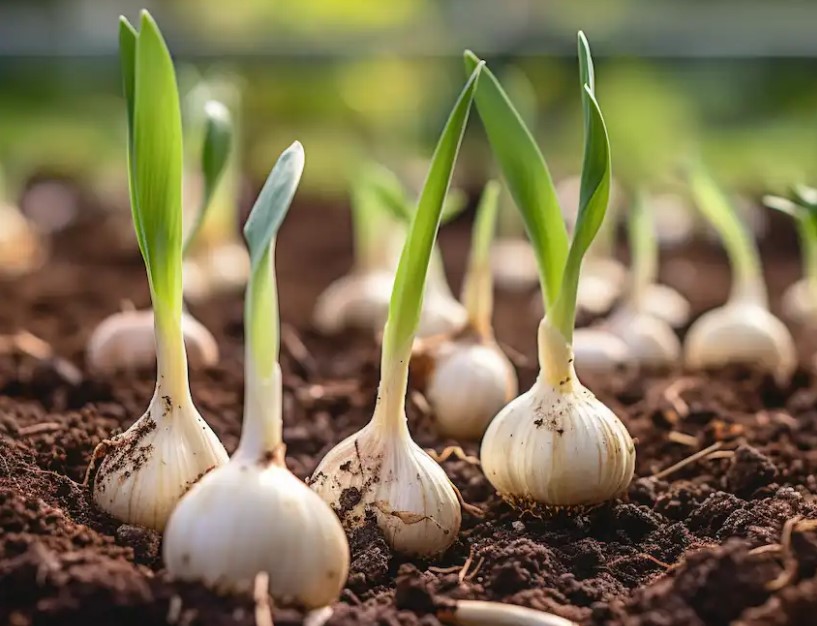
- Choose a Planting Site: Select a sunny location with well-draining soil. Garlic does best in loose, fertile soil with a pH between 6.0 and 7.5.
- Prepare the Soil: Before planting, enrich the soil with compost or well-rotted manure. Avoid using fresh manure as it can burn the garlic roots.
- Planting Depth: Once the roots have grown to a suitable length, gently remove the garlic cloves from the water bottles. Plant the cloves about 2 inches (5 cm) deep in the soil, pointed end facing up.
- Spacing: Space the cloves at least 4-6 inches (10-15 cm) apart in rows that are around 12 inches (30 cm) apart.
- Watering: Keep the soil evenly moist, especially during the initial growth period. Garlic requires consistent watering but should not be waterlogged.
Caring for Growing Garlic:
- Mulch: After planting, apply a layer of organic mulch (straw, shredded leaves, or grass clippings) to help retain moisture, suppress weeds, and protect the garlic during the winter.
- Fertilization: Garlic is a moderate feeder. You can provide additional nutrients with a balanced fertilizer or compost tea during the growing season.
- Garlic Scapes: During the growing season, garlic may produce curly, green stems known as “scapes.” Cutting off the scapes encourages bulb development, as the plant puts more energy into the bulbs instead of seed production. You can use the scapes in cooking as well.
- Pest and Disease Management: Garlic is generally resistant to pests and diseases, but you should still monitor for issues. Remove any yellowing or damaged leaves and dispose of them to prevent the spread of diseases.
- Harvesting: Garlic is ready to harvest when the lower leaves turn yellow and begin to die back. Typically, this occurs in late spring or early summer, depending on the variety and planting time.
- Drying and Curing: After harvesting, gently brush off excess soil and allow the garlic bulbs to dry in a warm, well-ventilated area for 2-3 weeks. This process, known as curing, helps improve storage life.
Tips for Growing Garlic:
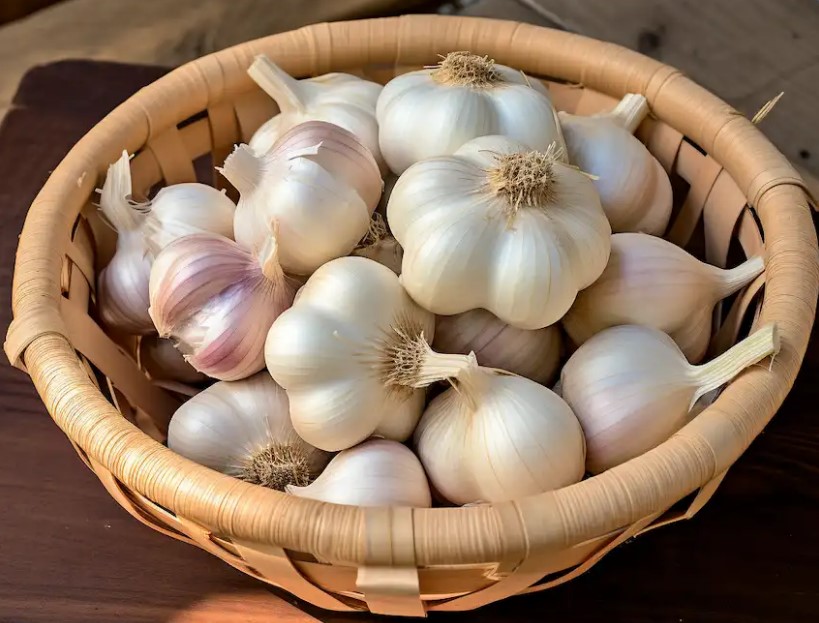
- Choose the Right Variety: There are softneck and hardneck garlic varieties, each with different flavor profiles and growing characteristics. Softneck varieties are more common and better suited for milder climates, while hardneck varieties are known for their strong flavors and grow better in colder regions.
- Planting Time: Garlic is usually planted in the fall, about 4-6 weeks before the ground freezes. This allows the bulbs to establish roots before winter dormancy and provides early growth in spring.
- Avoid Overwatering: Garlic prefers slightly moist soil, but overwatering can lead to rot and other issues. Watering deeply and less frequently is usually better than frequent shallow watering.
- Practice Crop Rotation: To avoid the buildup of soil-borne diseases, do not plant garlic in the same location for consecutive years. Rotate it with other crops in the allium family.
- Save Your Best Bulbs: If you have a successful harvest, save some of the best bulbs for replanting in the next season. This ensures you continue to grow garlic adapted to your specific growing conditions.
With these guidelines, you should be well on your way to growing your own healthy and delicious garlic! Happy gardening!


