
Growing onions in a tower is an innovative way to maximize your gardening space while ensuring a plentiful harvest. This method not only saves space but also facilitates better air circulation and sunlight exposure, leading to healthier plants and larger yields. Here’s a comprehensive guide on how to build and maintain an onion tower, ensuring you can enjoy fresh onions right from your garden.
Benefits of an Onion Tower
Space Efficiency: Perfect for small gardens or urban balconies where ground space is limited.
Reduced Pest and Disease Risk: Elevating onions off the ground reduces their exposure to pests and soil-borne diseases.
Ease of Harvest and Maintenance: Vertical towers make it easier to monitor plant health, water, and harvest without bending or stooping.
Materials Needed
- A vertical tower planter (commercially available or DIY)
- High-quality potting mix
- Compost or well-rotted manure
- Onion sets or seeds
- Watering can or drip irrigation system
- Optional: Mulch material like straw or wood chips
Step 1: Choosing and Preparing Your Tower
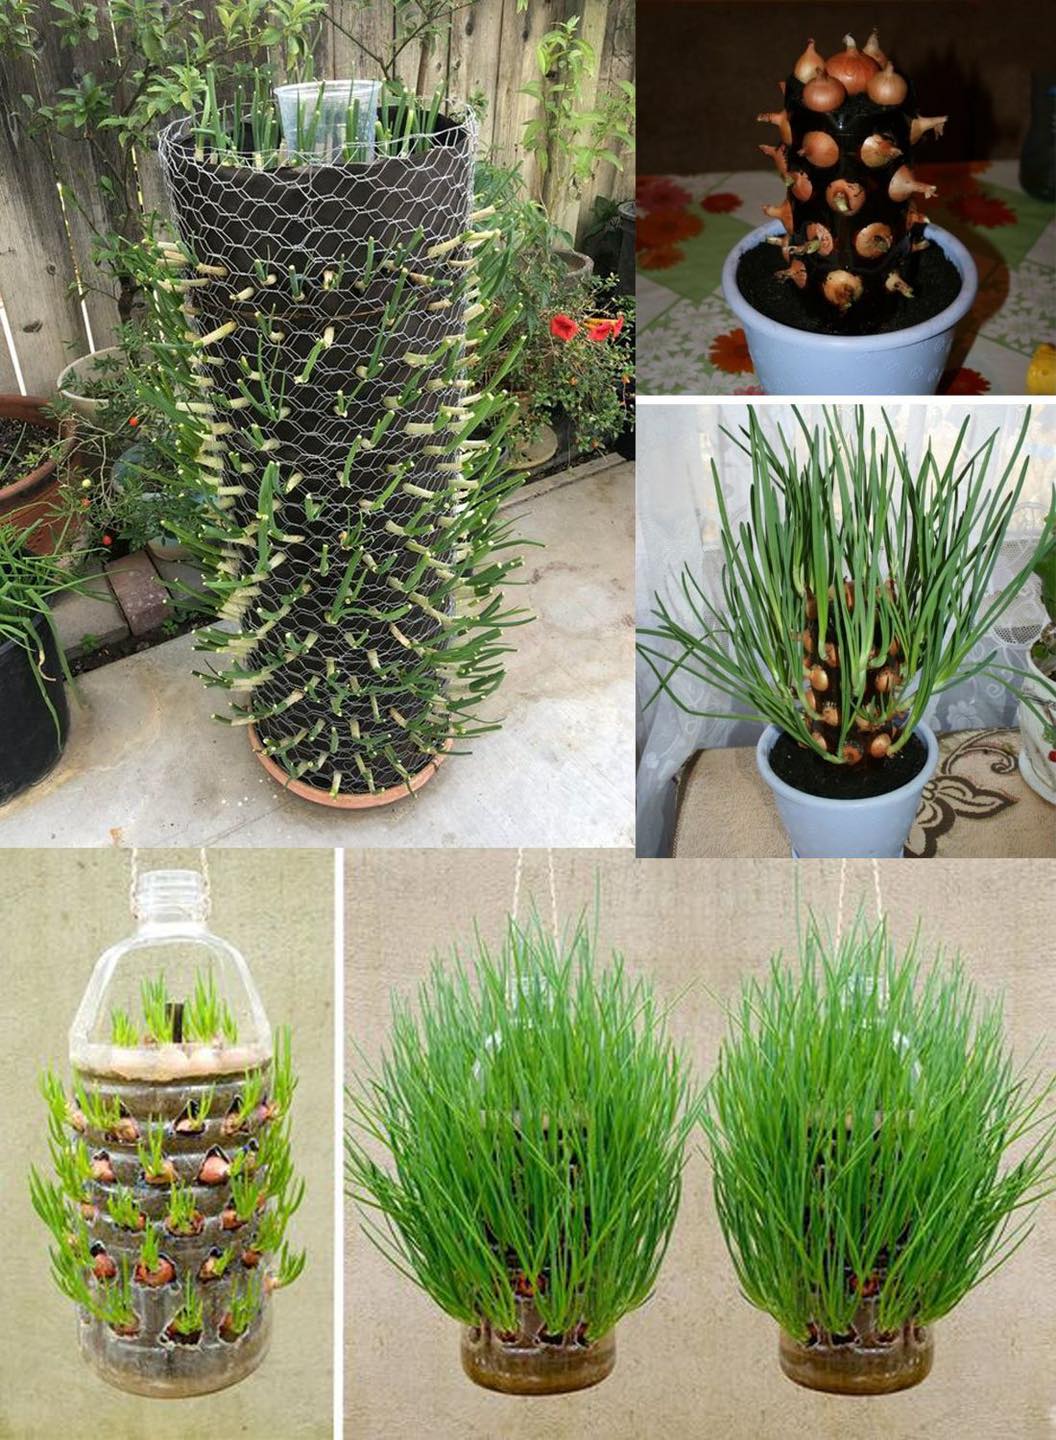
Select a Tower: You can purchase a vertical tower planter or create a DIY version using items like PVC pipes, plastic bottles, or fabric grow bags with side pockets.
Positioning: Place your tower in a location that receives at least 6 hours of sunlight daily. Ensure it’s stable and won’t tip over when loaded with soil and plants.
Step 2: Soil Preparation
Mix Your Soil: Combine the potting mix with compost or well-rotted manure to enrich the soil. Onions thrive in well-draining, nutrient-rich soil.
Fill the Tower: Carefully fill your tower with the soil mixture, ensuring even distribution and avoiding over-compression, which can hinder root growth.
Step 3: Planting the Onions
Using Onion Sets: Plant the onion sets (small bulbs) about 1 inch deep and 4-6 inches apart, ensuring the tips are just poking through the soil surface.
Using Seeds: If planting from seeds, sow them ¼ inch deep and thin the seedlings once they’re a few inches tall, keeping the strongest ones.
Step 4: Watering and Maintenance
Watering: Water your onions regularly to keep the soil moist but not waterlogged. A drip irrigation system can provide consistent, targeted watering.
Feeding: Feed your onions every few weeks with a balanced liquid fertilizer to promote healthy growth.
Monitoring: Regularly check your tower for signs of pests or diseases. Remove any affected plants promptly to prevent spread.
Step 5: Harvesting
Knowing When to Harvest: Onions are ready to harvest when their tops begin to yellow and fall over. Gently loosen the soil around each onion and lift it out of the tower.
Curing Onions: Lay your harvested onions out in a warm, dry place with good air circulation for a few weeks to cure. This process hardens the outer layers and prepares the onions for storage.
Aftercare and Seasonal Considerations
Post-Harvest: After harvesting, replenish the soil in your tower with fresh compost to prepare for the next planting cycle.
Winter Care: If your area experiences frost, consider moving your tower to a sheltered location or covering it with horticultural fleece to protect your plants.
Building an onion tower is an excellent way to maximize your gardening space and enjoy a bountiful harvest. With these steps and proper care, you can grow healthy, flavorful onions in even the smallest of spaces. Happy gardening!


