
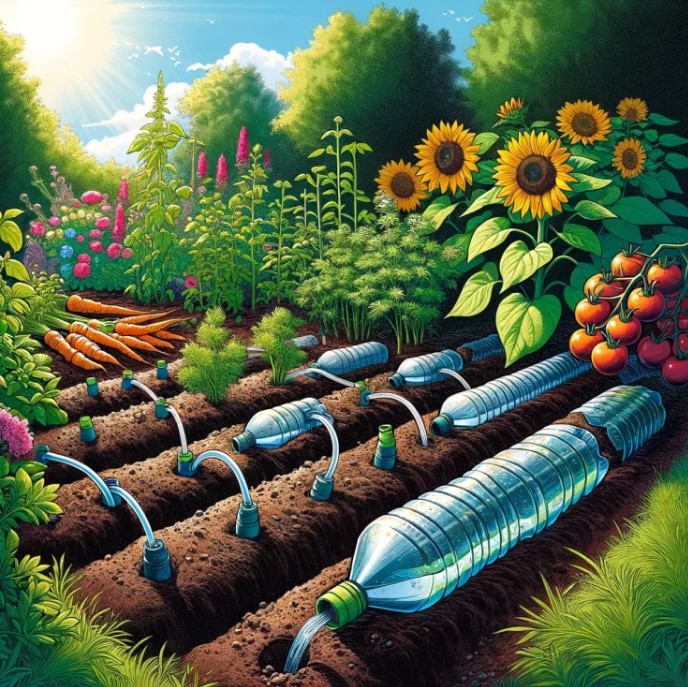
Drip irrigation is a game-changer for gardeners looking to conserve water and ensure their plants receive a steady supply of moisture. While commercial drip irrigation systems can be expensive and complicated to install, there’s a simple DIY solution that can be crafted in just a few minutes using readily available materials: plastic bottles. In this guide, we’ll walk you through the step-by-step process of creating your own drip irrigation system using plastic bottles, allowing you to water your plants efficiently and effectively with minimal effort and cost.
Materials Needed:
- Plastic bottles (2-liter or 1-liter)
- Sharp scissors or knife
- Drill or nail
- Hose or tubing (optional)
- Water
Step 1: Gather Your Materials
Start by collecting the necessary materials. You’ll need plastic bottles, preferably 2-liter or 1-liter in size, as well as a sharp pair of scissors or a knife to cut the bottles. Additionally, you’ll need a drill or a nail to create holes in the bottles for the water to drip out.
Step 2: Prepare the Bottles
Using the scissors or knife, carefully remove the bottom of each plastic bottle. This will serve as the reservoir for holding water. If you prefer, you can also leave the cap on the bottle and drill or pierce small holes into it instead of removing the bottom entirely. This will allow you to control the flow of water more easily.
Step 3: Poke Holes in the Caps
If you’ve opted to keep the caps on the bottles, use a drill or nail to create small holes in the caps. These holes will serve as the points from which water will drip out of the bottles and onto your plants. Be sure to space the holes evenly across the surface of the cap to ensure uniform watering.
Step 4: Install the Bottles
Once you’ve prepared the bottles, it’s time to install them in your garden. Dig a hole near the base of each plant you wish to water and bury the bottles upside down, leaving the neck exposed above the soil. Alternatively, you can hang the bottles from stakes or trellises using string or wire.
Step 5: Fill the Bottles with Water
Fill each bottle with water, either through the open bottom or by pouring water into the top of the bottle if you’ve left the cap on. As the soil around the bottles dries out, water will gradually seep out of the holes in the caps, providing a slow and steady supply of moisture directly to the roots of your plants.
Step 6: Monitor and Adjust
Keep an eye on your drip irrigation system and monitor the moisture levels in your soil. Depending on factors such as temperature and plant type, you may need to adjust the frequency or duration of watering to ensure optimal growth. Additionally, you can experiment with different bottle sizes and hole patterns to customize your irrigation system to suit your specific needs.
By following these simple steps, you can create your own drip irrigation system using plastic bottles in just a few minutes. Not only is this DIY solution easy and inexpensive to implement, but it’s also an eco-friendly way to conserve water and keep your plants healthy and thriving all season long. Give it a try and see the difference it can make in your garden!


")

