
Orchids, are you having trouble watching them grow? Only if you plant them like this they will never rot and will flower all year round. Here is the secret that no one has ever told you.
 Do you also know the method for making orchids grow quickly and prevent them from rotting? Follow this procedure. You’ll thank us for the fabulous tip that will save your plants.
Orchid, the most delicate plant to take care of
Deciding to bring a plant home is like adopting a puppy: you will always need to take care of it. These little green jewels represent the Green heart not only of the world but also of your home.
 It’s nice to have many small pieces of nature on the balcony, on the terrace or in the dull and dead corners of our home. But taking care of plants is not as simple as many believe, especially if you were not born with the gift of a green thumb.
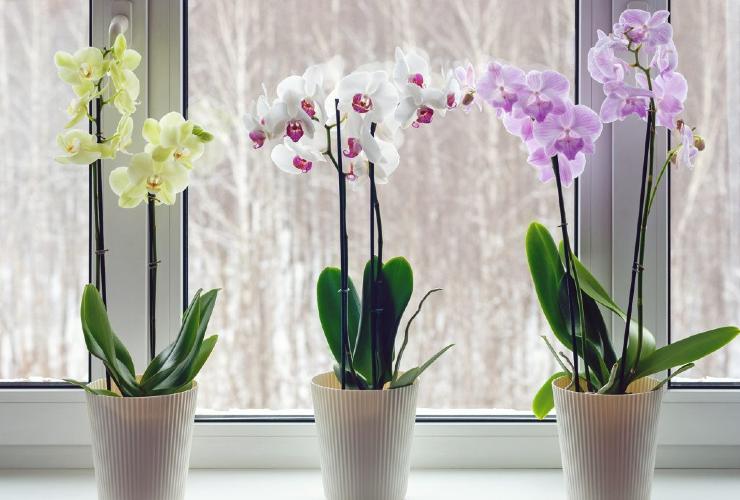
Orchids are certainly among the most difficult plants to manage. Beautiful, with splendid colors and flowers, they are among the most requested green jewels, purchased and given as gifts but, alas, they are also among the plants that most easily die or that do not produce flowers when they should.
If these last two conditions occur, it means you are doing something wrong. Have you noticed that your orchids are also rotting or struggling to flower? Continue reading, we will reveal the trick that will allow you to reborn your wonderful plants in a nanosecond.
The technique for having flowering and healthy orchids
Taking care of orchids is not as simple as it might seem. These plants grow differently than others; their roots, for example, tend to rot quickly if not cared for properly.
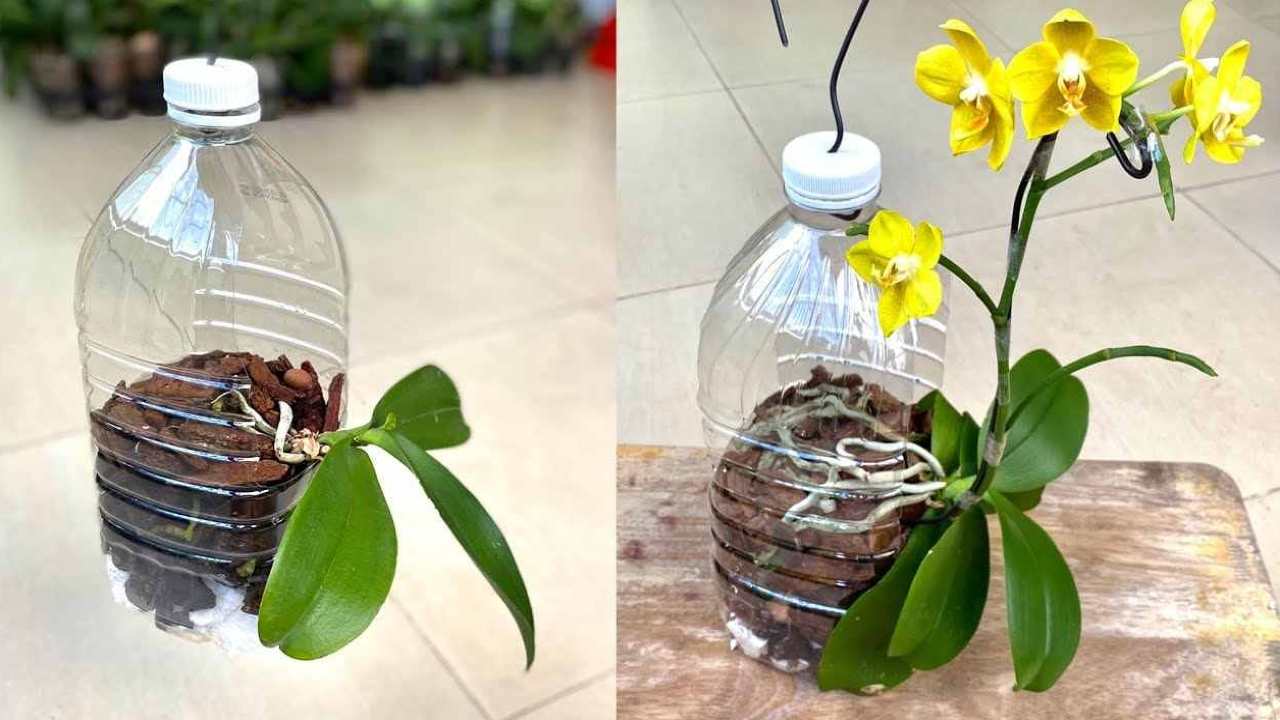
 Just that, is that what’s happening with your plants? Don’t worry, we have a system for you that will give you beautiful and healthy orchids all year round. First of all you need to get a 5 liter plastic bottle which you will remove the cap from and on which you will make a fairly large square opening (consider that our plant will have to fit inside).
At the bottom of the bottle, you need to create drainage holes using a small knife. You can instead pierce the bottle cap and insert a wire or a hanger inside it which you will eventually need to place your orchid wherever you prefer, even hanging it from the balcony.
At this point, we take our orchid out of its pot and begin removing the old planting material and then cutting the damaged roots. In the meantime, let’s prepare this mixture which will serve as a natural fertilizer for our orchid.
In a container, add 500 ml of water to which we will add two cloves of garlic previously crushed in the mortar. Let’s mix everything. We filter the water which in the meantime will have absorbed the antiseptic properties of the garlic and with a cotton ball that we have immersed in this solution, we begin to clean the leaves of our orchid.
Why do we do this step? To ensure that our plant is protected from fungi effectively: the smell of garlic and its properties are able to act as a fungicide.
At this point, we put the roots of our orchid in the water and garlic and leave to soak for 15 minutes. In the meantime, get some pine bark that you can buy at nurseries.
Let’s move on to the final step. Take your previously sectioned transparent plastic bottle again and insert a sponge cut into small pieces inside, the classic green or white ones that you can also find at florists.
Then add the pine bark and finally your orchid, the one you left soaking in water and garlic. Cover the roots again with pine bark. Then water the soil with the same solution of water and garlic in which you immersed your plant.
This operation must be repeated once every two weeks. You will see that by doing so, your orchid will flower and remain with healthy, robust roots all year round.


