Introduction: Growing roses from cuttings can be a rewarding experience for garden enthusiasts. While there are various methods to propagate roses, one unconventional yet effective way is to use a potato as a natural medium to encourage root development. This article will walk you through the process of growing a rose cutting from a potato, providing you with detailed steps to ensure successful results.

Materials Needed:
- Healthy rose cutting
- Medium-sized potato
- Pot with potting soil
- Sharp knife or pruning shears
- Rooting hormone (optional)
- Plastic wrap or a plastic bag
- Rubber bands or string
- Watering can
- A sunny location
Step-by-Step Guide:
Select a Healthy Rose Cutting:
Choose a healthy rose cutting from a mature rose plant. The cutting should be about 6-8 inches long and have at least two to three leaf nodes.
Prepare the Rose Cutting:
Using a sharp knife or pruning shears, cut the rose stem at a 45-degree angle just below a leaf node. Remove any flowers, buds, or leaves from the lower part of the cutting.
Prepare the Potato:
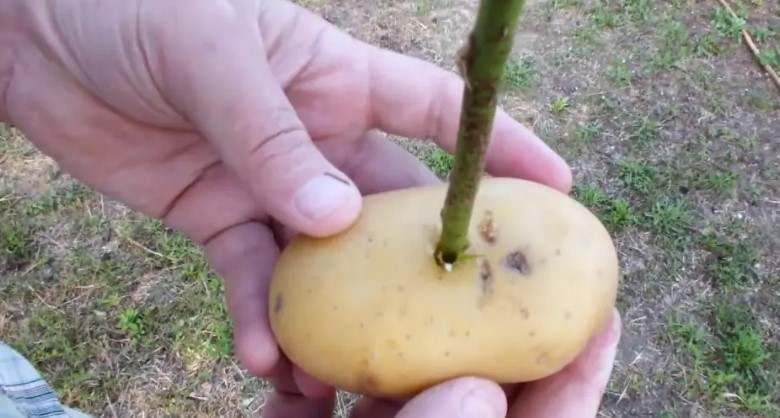
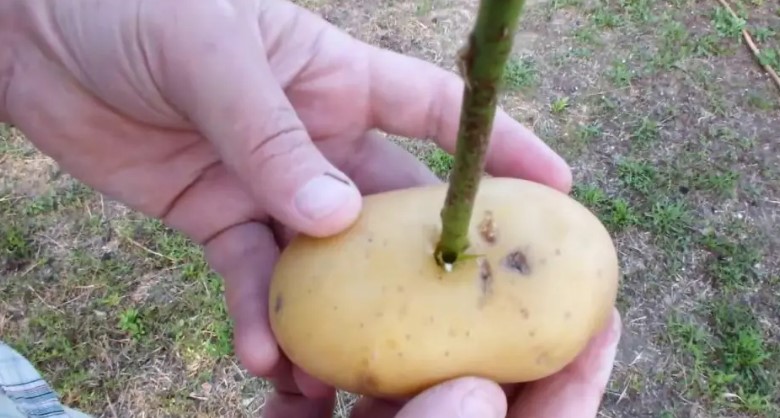
Take a medium-sized potato and cut it in half horizontally. Make a small hole in the cut side of the potato using a pencil or your finger. The hole should be large enough to accommodate the rose cutting.
Insert the Rose Cutting into the Potato:
Dip the cut end of the rose cutting in rooting hormone (optional, but it can promote root development) and insert it into the hole in the potato. Make sure the cutting is secure and snug in the potato.
Prepare the Pot:
Fill a pot with potting soil, leaving about 2 inches of space from the top. Water the soil thoroughly until it’s evenly moist but not soggy.
Plant the Potato with the Rose Cutting:
Plant the potato with the rose cutting in the prepared pot. Ensure that the cutting is inserted into the soil while the potato rests on top. The potato will provide moisture and nutrients to the cutting as it develops roots.
Cover with Plastic Wrap:
Cover the entire pot and cutting with a clear plastic wrap or place a clear plastic bag over it. Secure the plastic wrap or bag in place with rubber bands or string. This creates a mini greenhouse effect that retains humidity around the cutting.
Place in a Sunny Location:
Position the pot in a sunny location where it receives indirect sunlight. Avoid exposing it to harsh, direct sunlight as it may cause the cutting to dry out.
Maintain Proper Moisture:
Keep the soil consistently moist but not waterlogged. Mist the cutting and soil inside the plastic wrap periodically to maintain humidity.
Monitor Growth:
Over the next few weeks, monitor the cutting for signs of root development. You can gently tug on the cutting after a few weeks to check if it has anchored itself into the soil.
Transplant:
Once the cutting has developed a strong root system (typically in 6-8 weeks), you can transplant it into a larger pot or directly into your garden.
Conclusion: Growing roses from potato cuttings may seem unusual, but it’s a simple and effective method that has proven successful for many gardeners. With patience and care, you can enjoy the beauty of a new rose plant in your garden, all thanks to a humble potato.


