
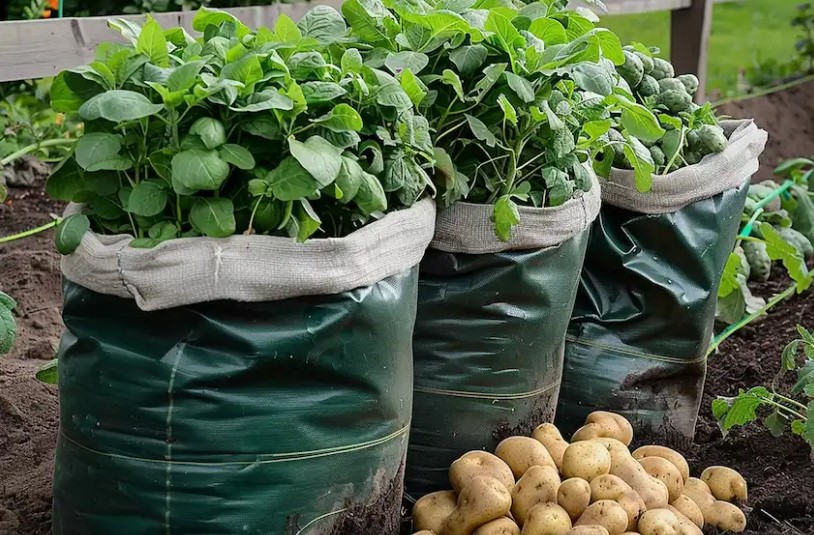
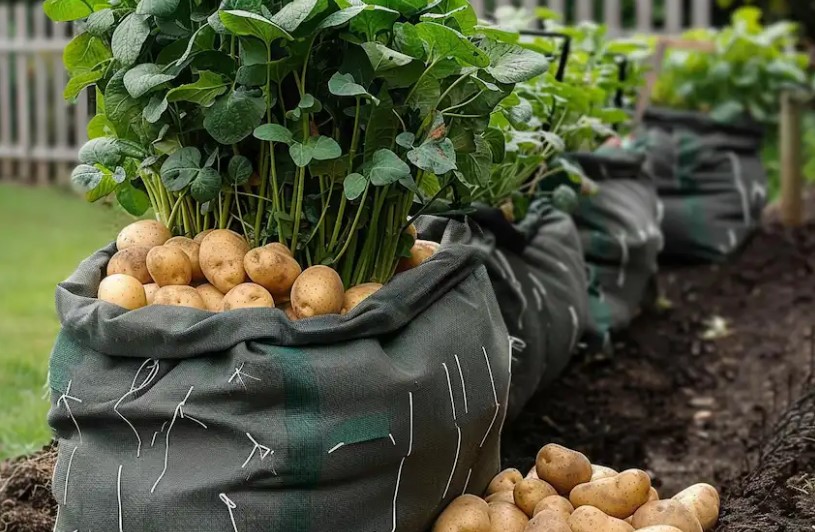
Growing your own potatoes can be both rewarding and fun. This staple crop, known for its versatility in the kitchen, can also be grown easily in a space-efficient manner using sacks. This method not only saves space but can significantly boost your potato yield. Here’s a step-by-step guide on how to grow sacks full of potatoes using a simple, yet effective trick that will ensure a bountiful harvest.
Benefits of Growing Potatoes in Sacks
- Space Efficiency: Ideal for small gardens or even balconies.
- Ease of Harvest: Simply tip the sack over to harvest, no digging required.
- Pest Management: Reduces the risk of soil-borne pests.
- Soil Control: Allows for perfect soil conditions to be created and maintained.
Materials Needed
- Large, sturdy sacks (burlap or a similar breathable material)
- High-quality potting soil
- Seed potatoes
- Compost or well-rotted manure
- Watering can or hose
- Fertilizer (optional)
Step-by-Step Guide to Growing Potatoes in Sacks
Step 1: Choose the Right Seed Potatoes
Select certified seed potatoes that are known for their productivity and disease resistance. Prior to planting, allow your seed potatoes to sprout by placing them in a light, cool place.
Step 2: Prepare Your Sacks
Take your sacks and roll the sides down so that the sack is about half its height. This makes it easier to add soil and plant your potatoes. Ensure the sacks have adequate drainage by poking a few holes in the bottom.
Step 3: Layer Soil and Potatoes
Start by adding about 4-6 inches of a mixture of potting soil and compost or manure to the bottom of the sack. Place your seed potatoes about 5 inches apart on top of the soil. Depending on the size of your sack, you can start with 3-5 seed potatoes.
Step 4: Cover and Wait
After placing the seed potatoes, cover them with an additional 4-6 inches of soil. Water the sack thoroughly, ensuring the soil is moist but not waterlogged.
Step 5: Keep Adding Soil
As the potato plants grow and reach about 12 inches in height, roll up the sides of the sack and add more soil to cover the bottom third of the plant. Repeat this process until the sack is full. This method, known as “hilling,” encourages more tubers to form along the buried stems.
Step 6: Watering and Care
Potatoes need a consistent amount of moisture, so water regularly, especially during dry spells. If desired, apply a balanced, slow-release fertilizer every four weeks to support growth.
Step 7: Watch for Pests and Diseases
Regularly inspect your potato plants for signs of pests or diseases. Common issues like potato blight can be mitigated by choosing resistant varieties and ensuring good air circulation around the sacks.
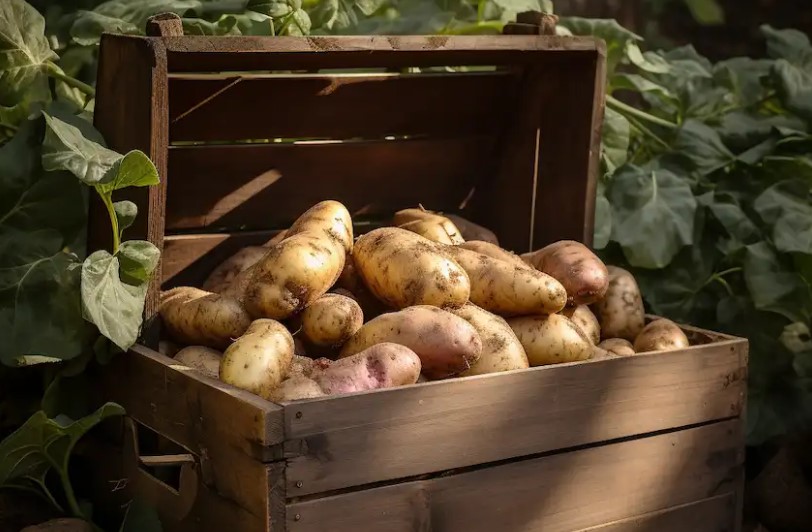
Step 8: Harvesting
The potatoes are ready to harvest when the foliage begins to die back and yellow. At this point, cease watering to allow the potatoes to cure for a few days before harvesting. To harvest, simply tip the sack over and sift through the soil to collect your potatoes.
The Surprising Trick: Coffee Grounds
Here’s the trick that will amaze you: adding coffee grounds to your soil mixture. Coffee grounds are acidic and potatoes thrive in slightly acidic soil. They also add organic material, improving soil structure and health. Mix coffee grounds into your potting soil to increase acidity and deter soil pests.
Growing potatoes in sacks is an excellent method for anyone looking to save space and reduce garden maintenance. By following these detailed steps and incorporating the simple trick of using coffee grounds, you’ll be amazed at how easy it is to harvest a bumper crop of potatoes right from your backyard or even a balcony. This method not only simplifies the growing process but also makes it more enjoyable and productive.


