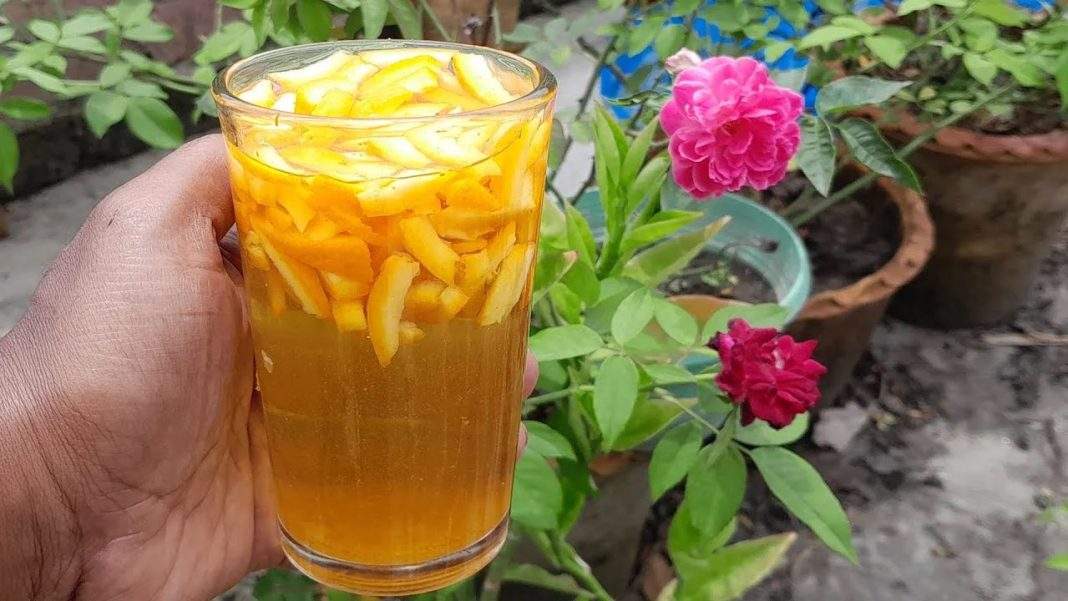
Orange peels, often discarded as kitchen waste, can be a goldmine for gardeners looking for a natural and cost-effective way to nourish their plants. Rich in nutrients like nitrogen, phosphorus, and potassium, orange peels can be transformed into a potent liquid fertilizer that promotes healthy plant growth. This article will guide you through the benefits of using orange peel fertilizer and provide a step-by-step method to make your own orange peel liquid fertilizer at home.
Benefits of Orange Peel Fertilizer
- Nutrient-Rich: Orange peels are packed with essential nutrients that are beneficial for plants. They contain nitrogen, which is crucial for leaf growth, phosphorus for root development, and potassium for overall plant health.
- Pest Repellent: The natural oils in orange peels act as a deterrent to pests such as aphids and ants.
- pH Regulation: The slightly acidic nature of orange peels helps in balancing the soil pH, making it more suitable for acid-loving plants like tomatoes and roses.
- Cost-Effective: Utilizing kitchen waste reduces the need for chemical fertilizers, making it a sustainable and economical choice.
How to Make Orange Peel Liquid Fertilizer
Materials Needed:
- Orange peels (from 5-6 oranges)
- 1 liter of water
- A blender or food processor
- A large jar or container with a lid
- A fine mesh strainer or cheesecloth
- A spray bottle or watering can
Instructions:
- Collect and Prepare Orange Peels: Save the peels from oranges you consume. Wash them thoroughly to remove any dirt or pesticide residue.
- Blend the Peels: Cut the orange peels into smaller pieces and place them in a blender or food processor. Add a small amount of water to help with blending. Blend until you get a smooth paste.
- Fermentation Process: Transfer the orange peel paste into a large jar or container. Add 1 liter of water to the jar. Stir the mixture well to ensure the paste is fully dissolved in the water. Cover the jar with a lid but do not seal it completely; allow some airflow to enable the fermentation process.
- Let it Sit: Place the jar in a warm, dark place and let it sit for about a week. Stir the mixture once daily to help the fermentation process. You may notice bubbles forming; this is a sign of fermentation.
- Strain the Mixture: After a week, strain the liquid through a fine mesh strainer or cheesecloth into another container. This will remove any solid particles, leaving you with a clear orange peel liquid fertilizer.
- Dilute Before Use: The concentrated liquid fertilizer needs to be diluted before use. Mix one part of the orange peel liquid with five parts of water.
- Application: Pour the diluted fertilizer into a spray bottle or watering can. You can use this liquid fertilizer to water your plants or spray it on the leaves. Apply once every two weeks for best results.
Tips for Using Orange Peel Fertilizer
- Avoid Overuse: While orange peel fertilizer is beneficial, overuse can lead to soil acidity. Stick to a bi-weekly application schedule.
- Test on a Small Area First: If you’re using it for the first time, test the fertilizer on a small section of your garden to ensure it doesn’t adversely affect your plants.
- Combine with Other Organic Materials: For added benefits, you can combine orange peel fertilizer with other organic materials like banana peels or coffee grounds.
Conclusion
Making your own orange peel liquid fertilizer is a simple, eco-friendly, and effective way to boost the health of your plants. By recycling kitchen waste, you not only save money but also contribute to a more sustainable gardening practice. Give this natural fertilizer a try, and watch your plants thrive!


