
Planting in cardboard boxes represents a simple, innovative approach to gardening that is gaining popularity among gardeners of all levels. This method, often heralded as an effective no-dig solution, offers numerous benefits, especially for those dealing with poor soil quality or limited physical ability to cultivate the land traditionally. Here’s a detailed exploration of why using cardboard boxes for planting could be a game-changer for your gardening practice, complete with a step-by-step guide on how to set it up.
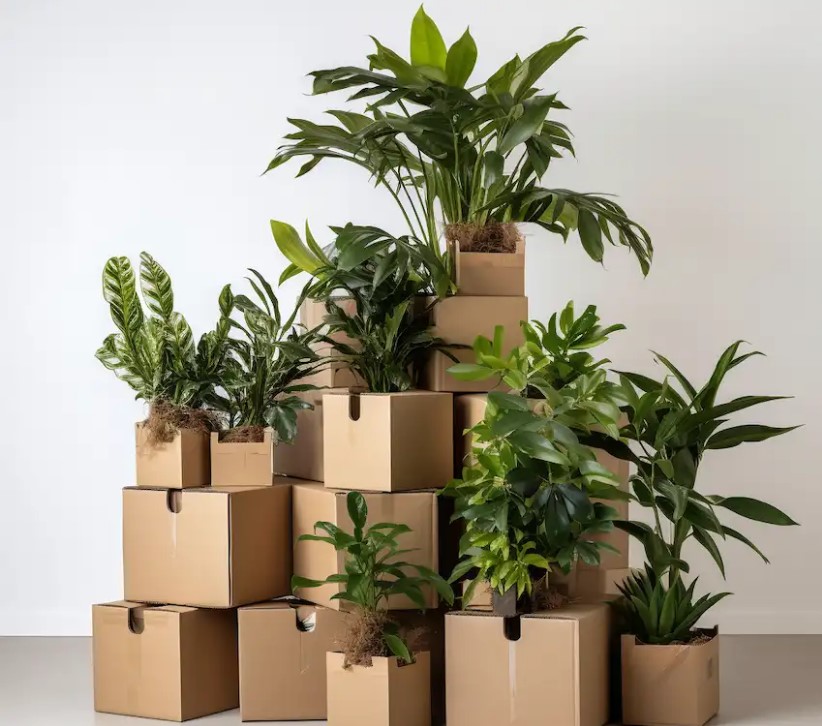
Why Plant in Cardboard Boxes?
1. No-Dig Convenience:
Cardboard box gardening eliminates the need for digging. This is particularly beneficial for those who either physically cannot dig or prefer not to disturb the soil’s natural structure and inhabitants.
2. Soil Quality Improvement:
For areas plagued by poor soil, cardboard boxes provide an immediate solution. You can fill these boxes with high-quality, nutrient-rich soil, ensuring your plants have the best start without the need to amend the existing ground.
3. Natural Composting:
Cardboard decomposes over time, enriching the soil beneath with organic matter. By simply layering new boxes over old ones annually, you’re effectively building a composting system that continuously revitalizes the soil.
4. Weed Suppression:
The cardboard acts as a barrier to weeds, significantly reducing the need for manual weeding and the use of chemical herbicides.
5. Pest Management:
Elevating plants in cardboard boxes can help deter certain pests, offering an added layer of protection to vulnerable seedlings.
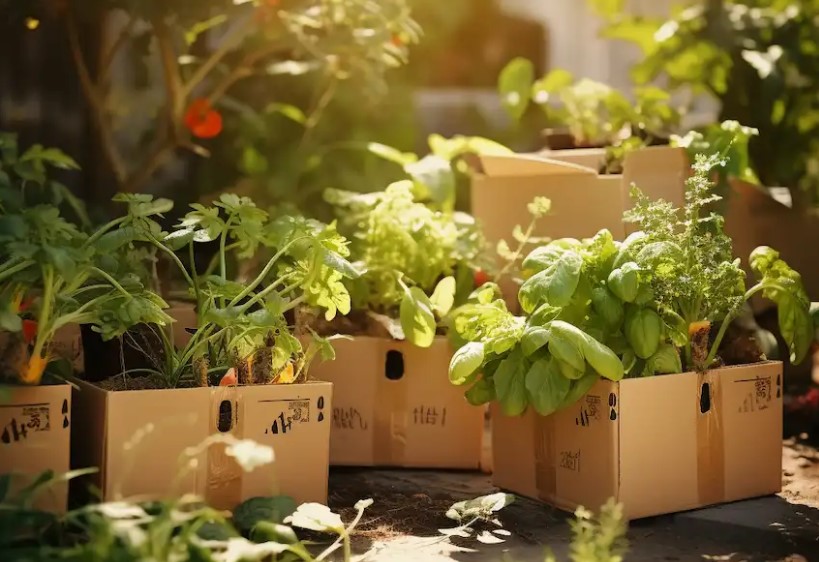
How to Set Up Your Cardboard Box Garden
Materials Needed:
- Large cardboard boxes (remove any plastic tape or labels)
- High-quality potting mix or garden soil
- Compost or well-rotted manure
- Seeds or seedlings of your choice
- Mulch (optional for added moisture retention)
Steps:
- Location Selection:
Choose a sunny spot for your garden. Most vegetables and herbs require at least 6-8 hours of direct sunlight daily. - Prepare Your Boxes:
Open the boxes and place them where you want your garden to be. If the bottoms are not already removed, do so to allow for root growth into the soil below and better drainage. - Layer the Bottom:
For an added weed barrier, you can lay a layer of cardboard beneath the boxes before setting them in place. - Fill With Soil:
Mix the potting soil with compost or manure to create a nutrient-rich environment. Fill your boxes with this mixture, leaving a couple of inches from the top. - Planting:
Plant your seeds or seedlings according to their specific spacing and depth requirements. Consider companion planting to maximize space and enhance plant health. - Watering:
Water your new plants thoroughly. Cardboard can absorb moisture, so it may require more water initially until the system stabilizes. - Mulching (Optional):
Applying a layer of mulch on top of the soil can help retain moisture and further suppress weeds. - Maintenance:
Keep an eye on moisture levels, especially during hot, dry periods. The cardboard will start to decompose naturally, which is part of the process. - Next Season Preparation:
Once the growing season is over, you can leave the boxes in place. Over winter, they’ll start to break down. Come spring, simply lay new boxes over the old ones, fill with fresh soil, and start again.
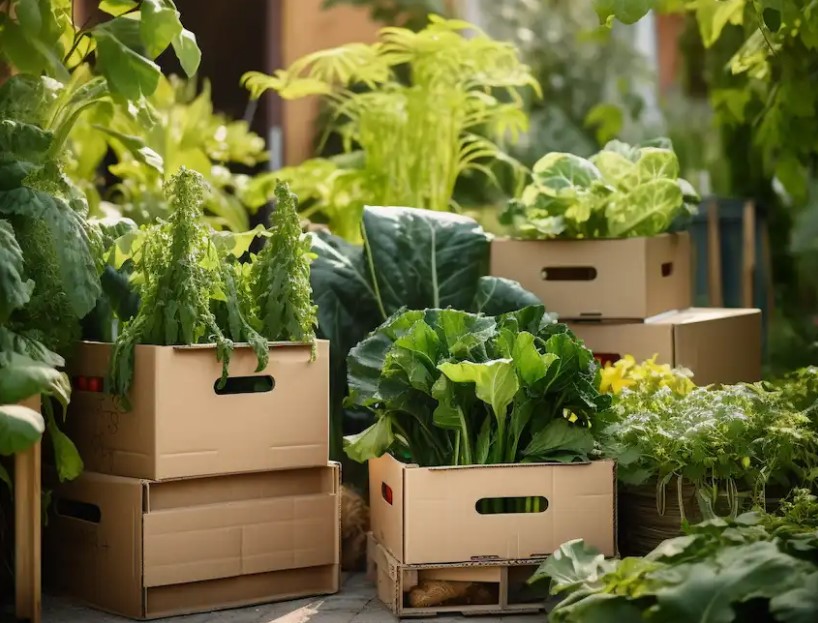
Gardening with cardboard boxes is not just an eco-friendly and efficient method of growing plants; it’s also a testament to the versatility and adaptability of gardeners in the face of challenges such as poor soil or physical limitations.
This approach aligns with sustainable practices by recycling materials and enhancing soil health without the need for chemical interventions. Whether you’re a seasoned gardener or a beginner, planting in cardboard boxes offers a simple yet effective way to enjoy bountiful harvests with minimal environmental impact.


