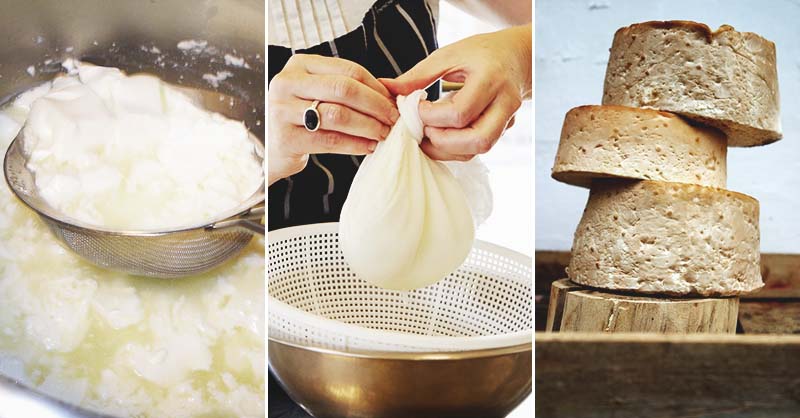
Get the Milk Hot: Fill a large pot with milk and cook it over low heat, stirring occasionally. The ideal temperature for warming milk is just before boiling, which is around 185°F, or 85°C. If you want your cheese to retain its texture, you must ensure that the milk does not boil.
Toss in the Acid: Take the milk off the heat when it reaches the desired temperature. Add the lemon juice or white vinegar and mix gently. The curds (solids) and whey (liquid) will be separated from the milk when the acid works its magic, causing the milk to curdle.
Set It Aside: After you combine the ingredients, let them sit for a while. The curdling process and cheese strainability are both improved by this resting time.
To drain the curds, line a strainer or colander with the dish towel or cheesecloth and set it over the basin. To filter out the whey, pour the mixture into the lined strainer. This will separate the curds. Toss out the liquid whey or use it in another dish (like a smoothie or a cake).
After draining, season the curds with a touch of salt for taste. Press and serve. Next, collect the cheesecloth corners and gently compress to remove any excess liquid. A few minutes beneath a heavy item will make the cheese firmer.
Savor That Cheese! The time has come to enjoy your very own cheese! It’s great on crackers, in salads, or eaten straight from the container with a little olive oil and herbs.
In summary
The process of making cheese at home is not only enjoyable, but it also provides a healthier option compared to processed cheese found in stores. When you make anything by yourself, you get to choose the ingredients and savor the flavor. Give it a go, and you may discover a new delicious hobby!


